
If you missed Part I of this living room makeover, CLICK HERE to see those photos.
Here’s the last photo from the first post:
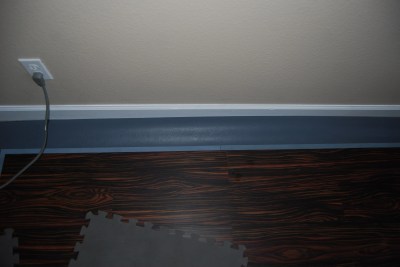
(the grey is the moisture barrier)

While I waited for the flooring to ship (delayed due to the snow and ice), I did some painting and we made few small changes:
Before:

After:

We’re changing ALL of the beige toggles to white rockers. ALL of them. (and of course, the beige outlets to white)

Painting most of the downstairs Behr “Pecan Sandie” in Satin.
We painted the original boring beige back in 1996.
and (to the left of the window) the “big red wall” is GONE.


In my defense, I am short and this valance was WAY over my head. Taking it down to paint put it in vacuum reach.


And FINALLY, the flooring was delivered!


And the fun began…

Four hours later… (it was a hard learning curve)

The next day went MUCH faster.

When we got to the last row, we said a little prayer:
Lord, we are so tired. please. please let it be a perfect fit.

God is merciful. And we are so. grateful.

We only had to fill in a graduated triangular section in the very. last. corner.
Can you see it? Go ahead. Click the photo to zoom in. My husband is SO good.

and the FLOOR is finished. In this room.
The green towels are covering the transition into the NEXT room.
yay.
And we have yet to get the rest of the furniture into place.

Bob the Cat approves. #lazycat #sunbeam

Next up? Finish painting and put some furniture in here. And of course, the adjoining rooms.
Check back. More photos to come.